 http://immersiveeducation.org/
Thursday, October 28, 2010
Customizing Avatar in Rocket World
Thursday, October 21, 2010
Midterm #8
Midterm #7
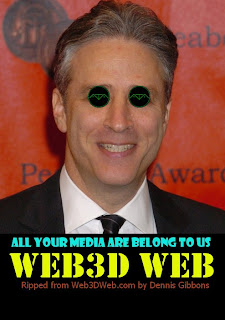
To create the image above, I followed these steps:
- Searched for an image of Jon Stewart on Google
- Saved and cropped the image removing extra scenery
- Downloaded the "eyes" logo and re-sized it to fit the eyes in the image
- Used the ellipse tool to select and copy the logo
- Pasted the image over the eyes in the image of Jon Stewart
- Used the rectangle selection tool and filled it to make a black box on the bottom
- Added various phrases using the text too, changing font color and type for each
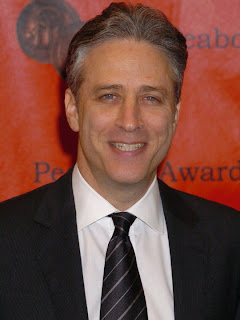
Original image is below:
Midterm #6

To create the above animated GIF, I followed these steps:
- Used the Text Circle script in GimpShop
- Changed the text to read "Dennis Gibbons" and hit OK
- Added a new layer
- Copied the text from the first layer and pasted into the new layer
- Used the Rotation tool to rotate the image 45 degrees
- Anchored the new layer
- Created more layers using the steps above
- Saved as an Animation changing the frame delay to 500 milliseconds
Thursday, October 14, 2010
Midterm #10
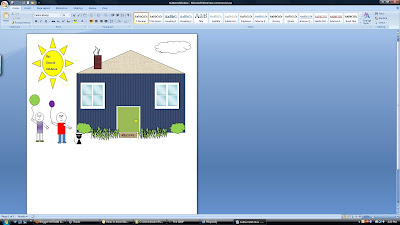
This is a screen capture of my Vector Graphics House for Midterm #10
I created the above image in MS Word. I used various shapes (rectangles, triangles, circles, etc) to create the house, windows and door. I then used circles and rectangles to create the children followed by some free hand drawing for the fingers and balloon strings. The clouds and bushes are modified "thought balloon" shapes and the sun is pre-made art.
The original document can be found here
This is a screen capture of my Vector Graphics House for Midterm #10
Midterm #9
This is a screen capture of my flowchart for Midterm #9
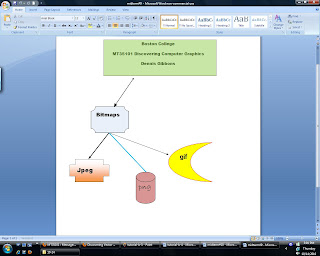
To create this image, I followed these steps:

To create this image, I followed these steps:
- Created a new document in MS Word
- Selected Insert -> Shapes
- Added a rectangle, filled it with color and added text
- Added badge shape, connected it to the rectangle using the arrow shape
- Inserted text in the badge
- Added other shapes, connecting with the arrow tool, and inserted text into them
- Saved file and took a screen shot
Assignments From Class #5
2) Getting started with Vector Graphics. To begin, read this article (taken from our textbook).


3) Next, listen to me describe the difference (and trade-offs) between bitmap graphics and vector graphics.

Thursday, October 7, 2010
Assignment from class 2
Subscribe to:
Comments (Atom)


